How To Use Camera Traps
What is camera trapping?
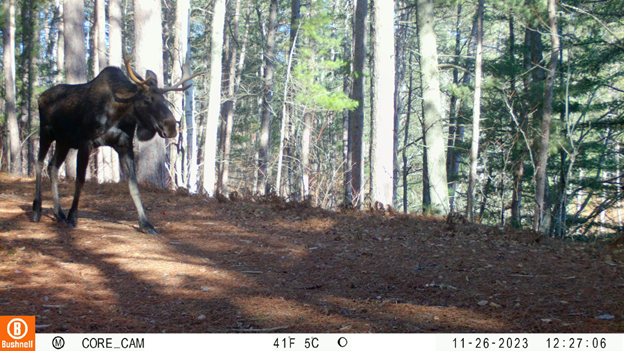
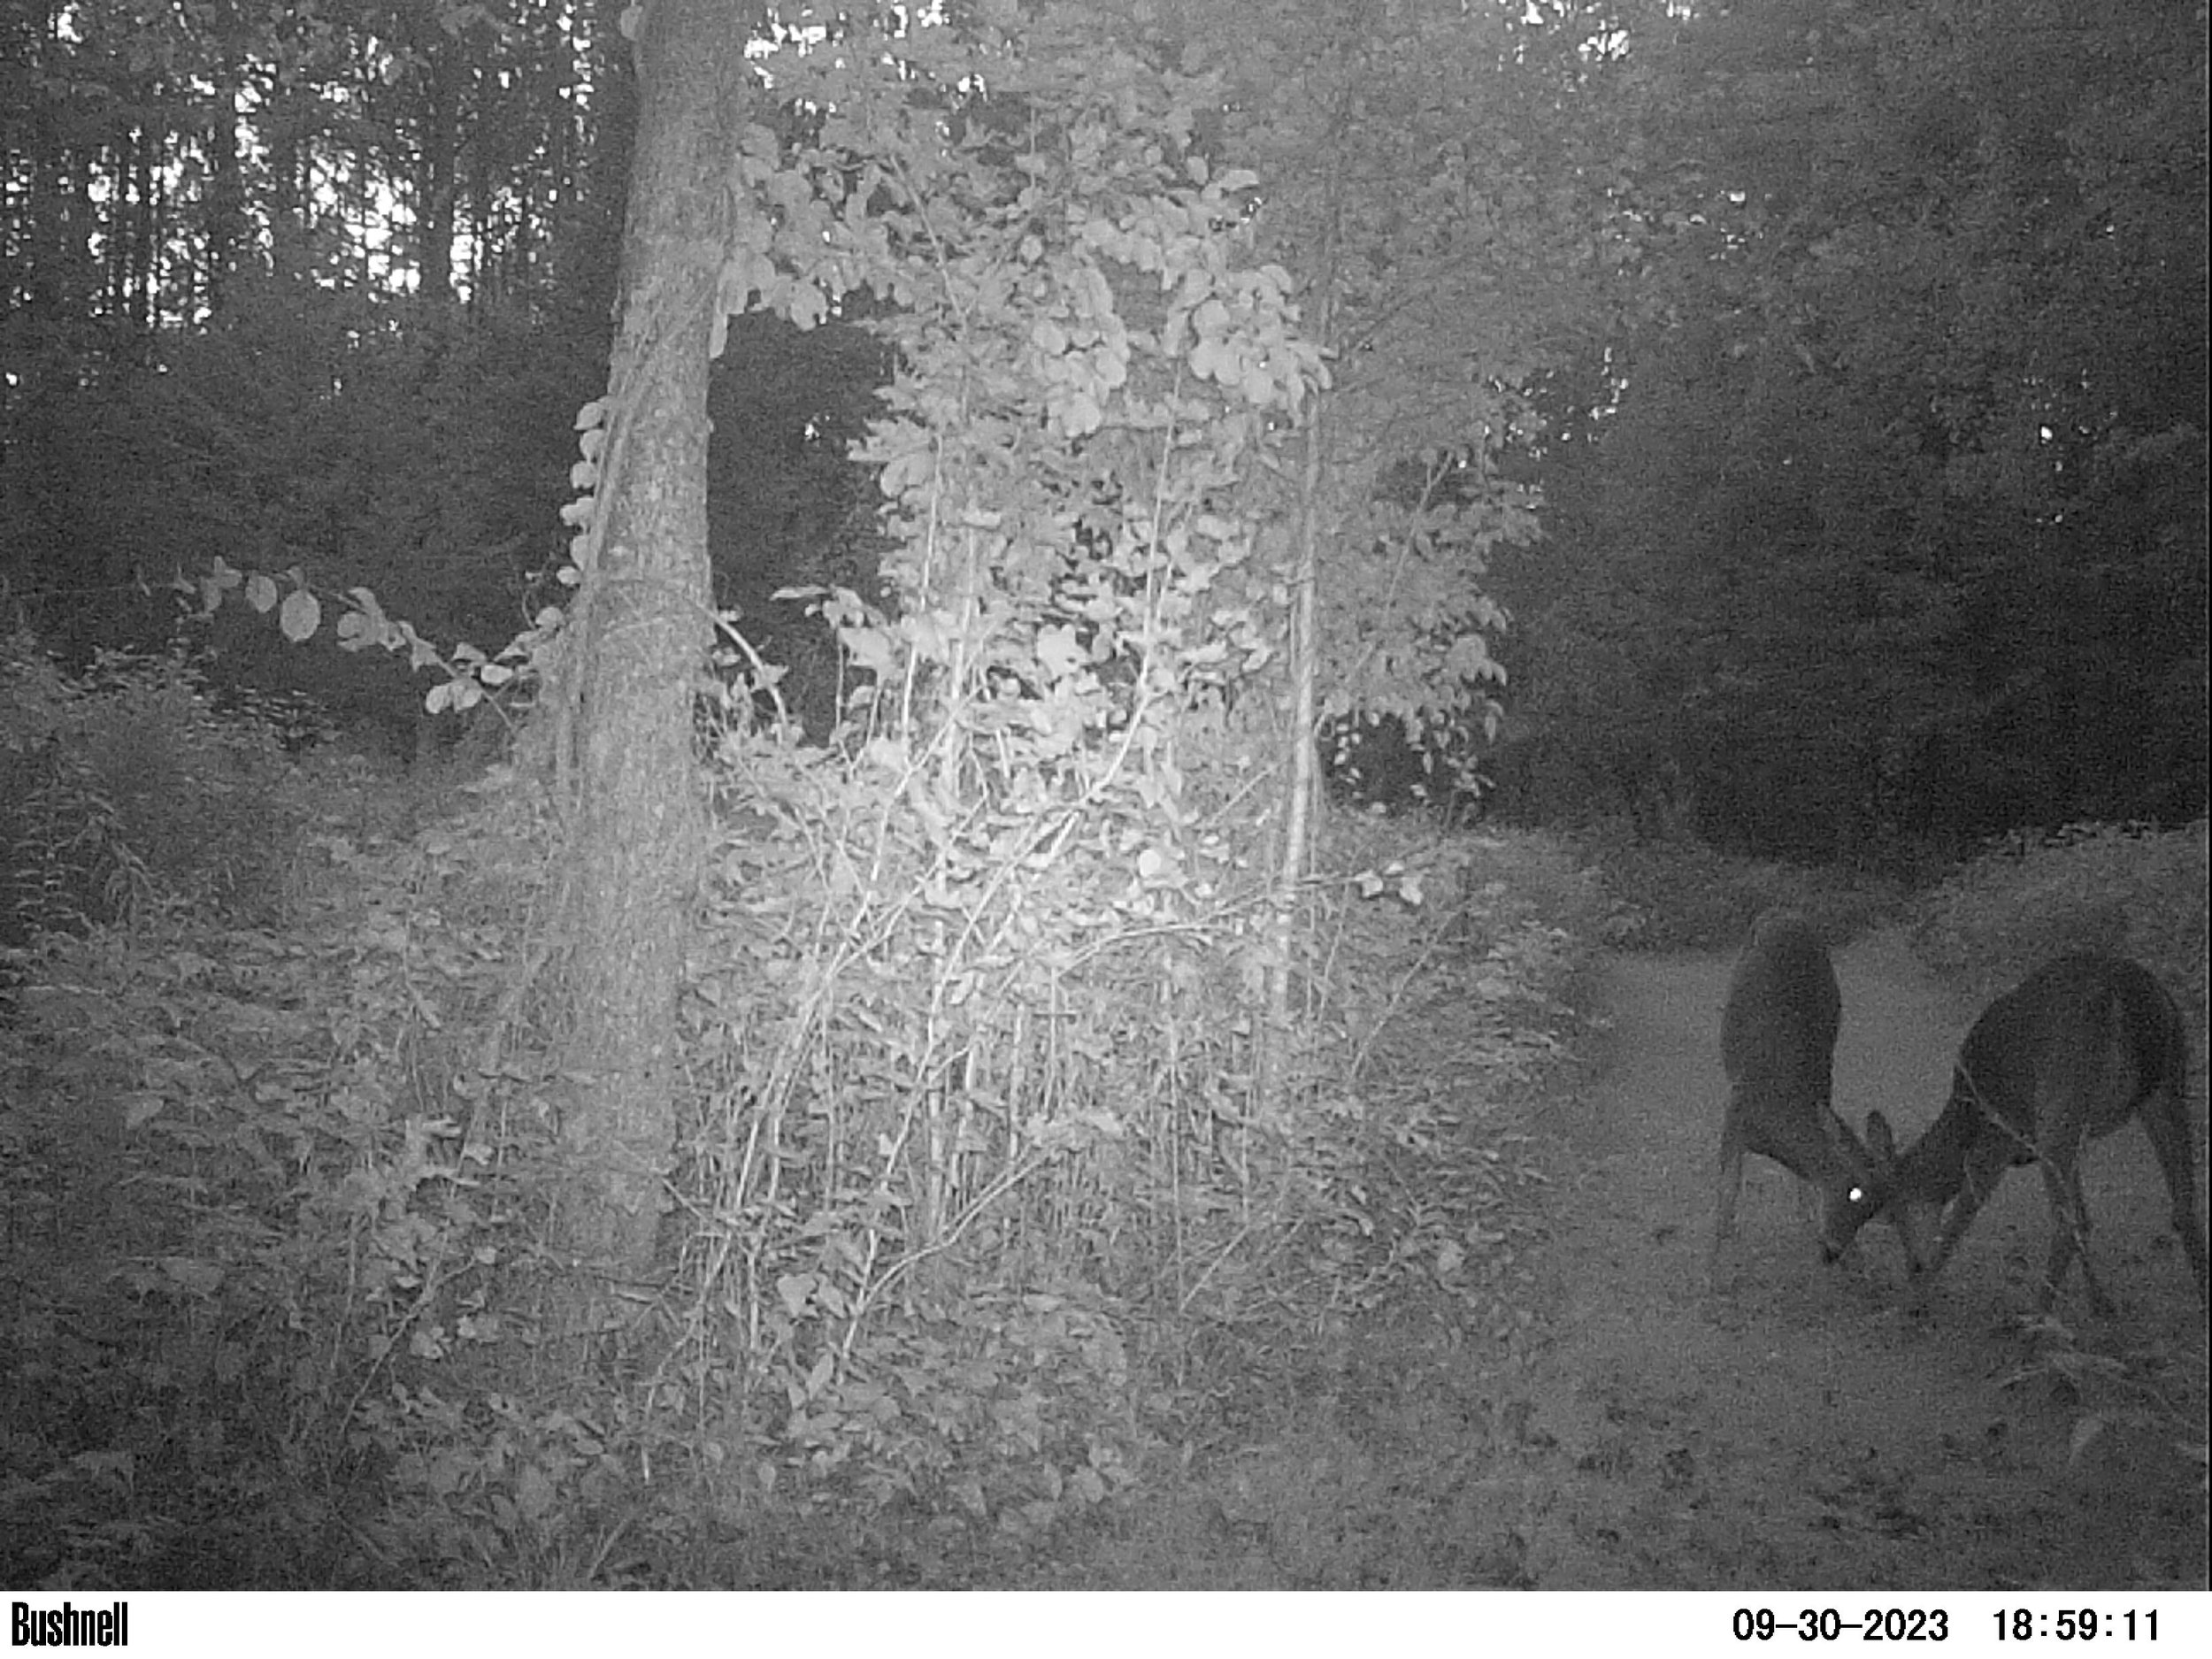
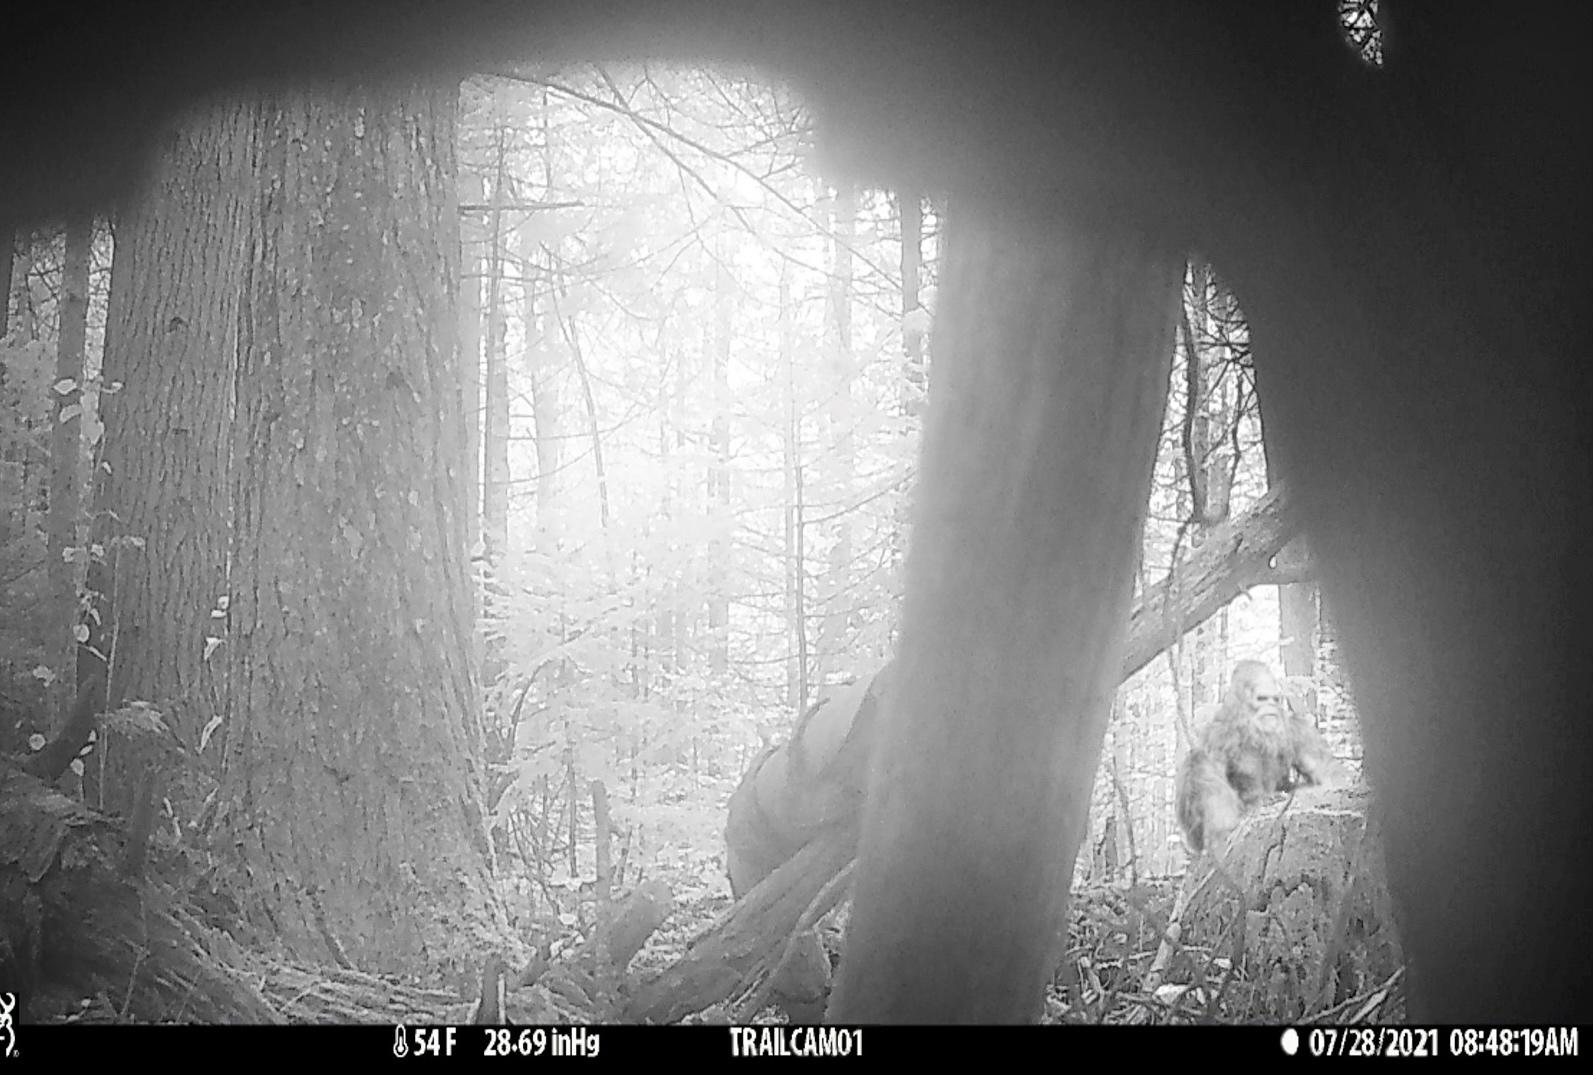
Camera trapping involves the use of remotely triggered cameras to capture imagery, usually of wildlife. Cameras – once the old-fashioned film kind, now all digital – are placed in any location where you may wish to learn about what’s happening in your absence. The advantage of camera traps, or “trail cameras”, is that they can record accurate information about the environment when researchers are not present and don’t disturb the species being photographed. Camera traps use a motion sensor, often a passive infrared light beam, which triggers the camera to capture one or more images when an animal passes in front of it. Many cameras can also be set to record video, or to capture photos automatically on a regular interval over a set period of time.
What is it used for?
Though its applications are growing rapidly, camera trapping is primarily used for studies of wildlife populations. Scientists use camera trapping to document wildlife occurrence and movement in habitats all over the world. In fact, it’s fair to say that camera trapping has enhanced the study of mammal populations by leaps and bounds, but camera traps are also increasingly being used to document amphibians, reptiles, and even invertebrates. Additionally, camera traps are employed innovatively to identify predators of bird nests, including those of grassland species like bobolink and savannah sparrow which have been the subject of AWI research in Essex County. The ability to recognize individual animals from unique spots, stripes, or other markings has enabled detailed population studies of species such as the Indian leopard in Jaipur, the Amur leopard in transboundary China and Russia, perentie (one of the world’s largest lizards) in Australia, and tigers in southern India. Not limited to the terrestrial world, camera traps have even been deployed to study seasonal abundance of the Eurasian otter, movement and feeding behavior of ocean fish, and abundance and site fidelity of reef sharks, to name a few aquatic examples.
How to do it?
First you need a camera, or two, or many. Camera trapping has evolved tremendously in the past few decades and is now widely used far beyond scientific pursuits. Hunters frequently use trail cameras for scouting, due to their increasing quality and affordability. Many people use trail cameras just to see what types of wildlife might be on the lands around their home. A quick google search of “camera traps” or “trail camera” will show you the variety available and, like anything else, cost varies. You can pay anywhere from $30 for a no-frills model to as much as $300 for one with a cellular connection that enables remote access and live streaming. Asking friends for advice on the brands and types they have tried and like best can also be a great step.
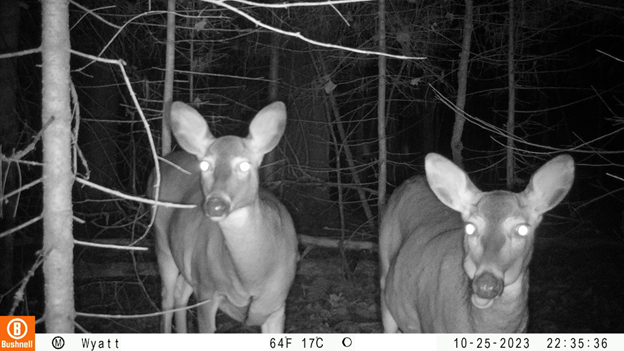
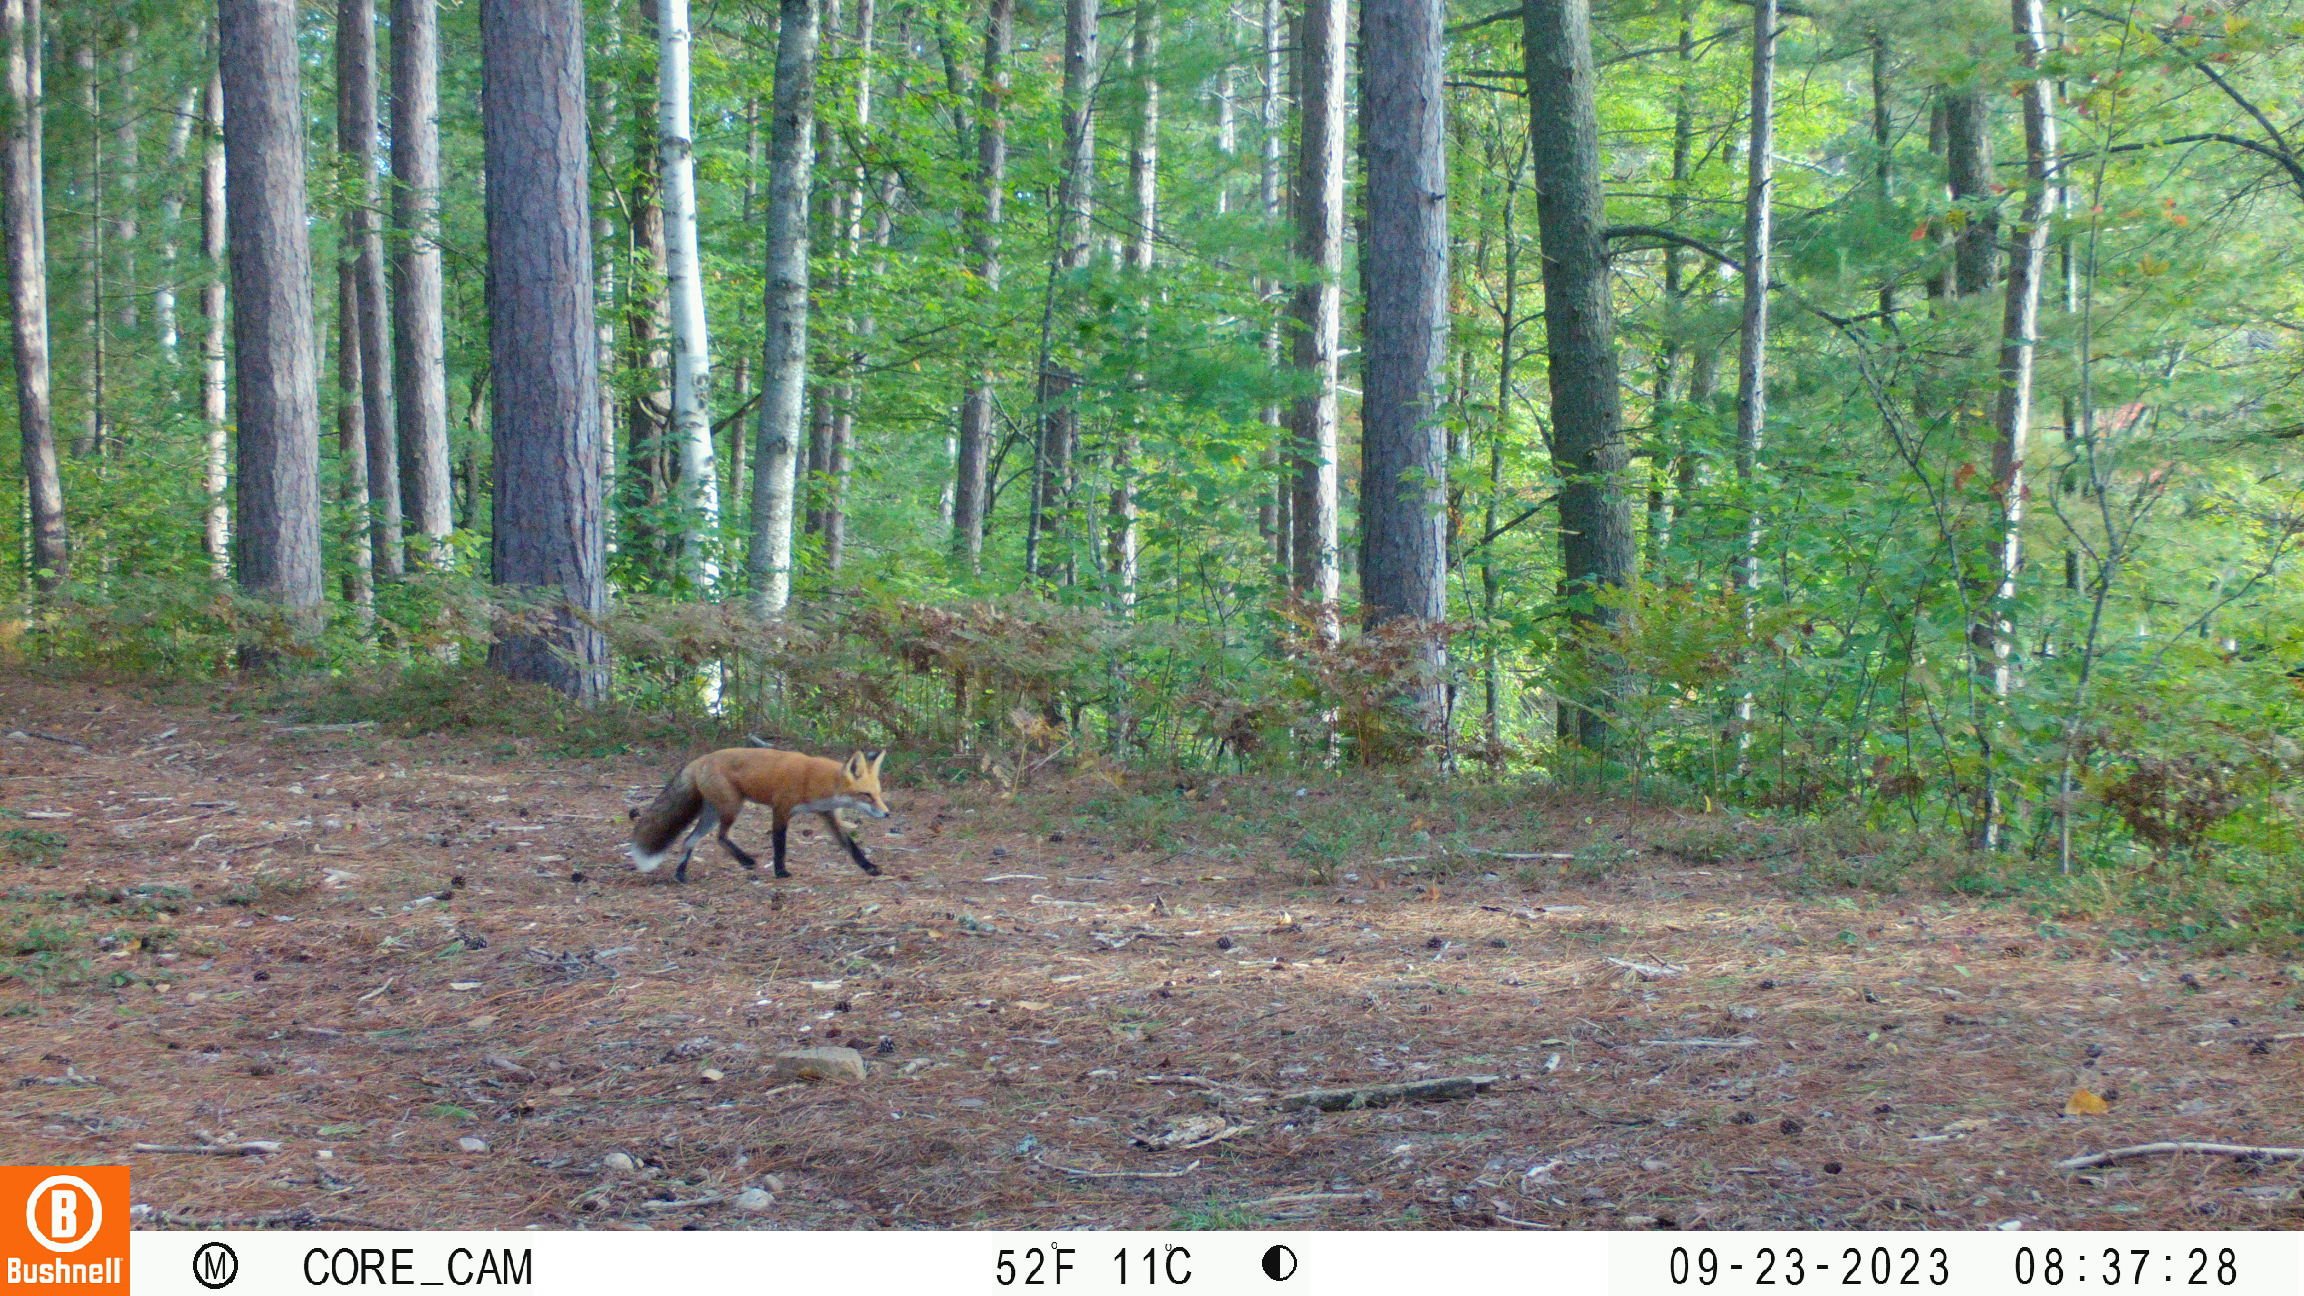
The first thing to do when you’ve got a camera is to learn how it works and what the available settings are. You’ll need an SD card to store the images (these are not expensive, and some cameras even come with them), so make sure you have a blank one ready to be installed in your camera. Load it up with batteries; you’ll probably need 6 or 8 AA batteries per camera depending on the model. Lithium batteries will last longer in colder weather, but today’s cameras are so good that almost any AA battery will work for quite a while. Next you will probably want to set the date and time on your camera, make a choice between capturing photos or video, the image size, and the number of photos to be captured per trigger. For most uses, we have found that setting the camera to capture photos, record a timestamp, and capture 3 images each time it is triggered works exceedingly well to document a variety of species.
Once you’ve got your camera all set, find a location that is likely to be used by wildlife and deploy it. Depending on your specific interest, this might be 30 ft from the back door so you can check it easily and frequently, or deep in your back woods where it’s more likely to catch elusive species that might not come close to the house. If you’re not using it on your own land, keep in mind that permission or a permit is probably required. An important step is to scout a location that is likely to be used by wildlife.
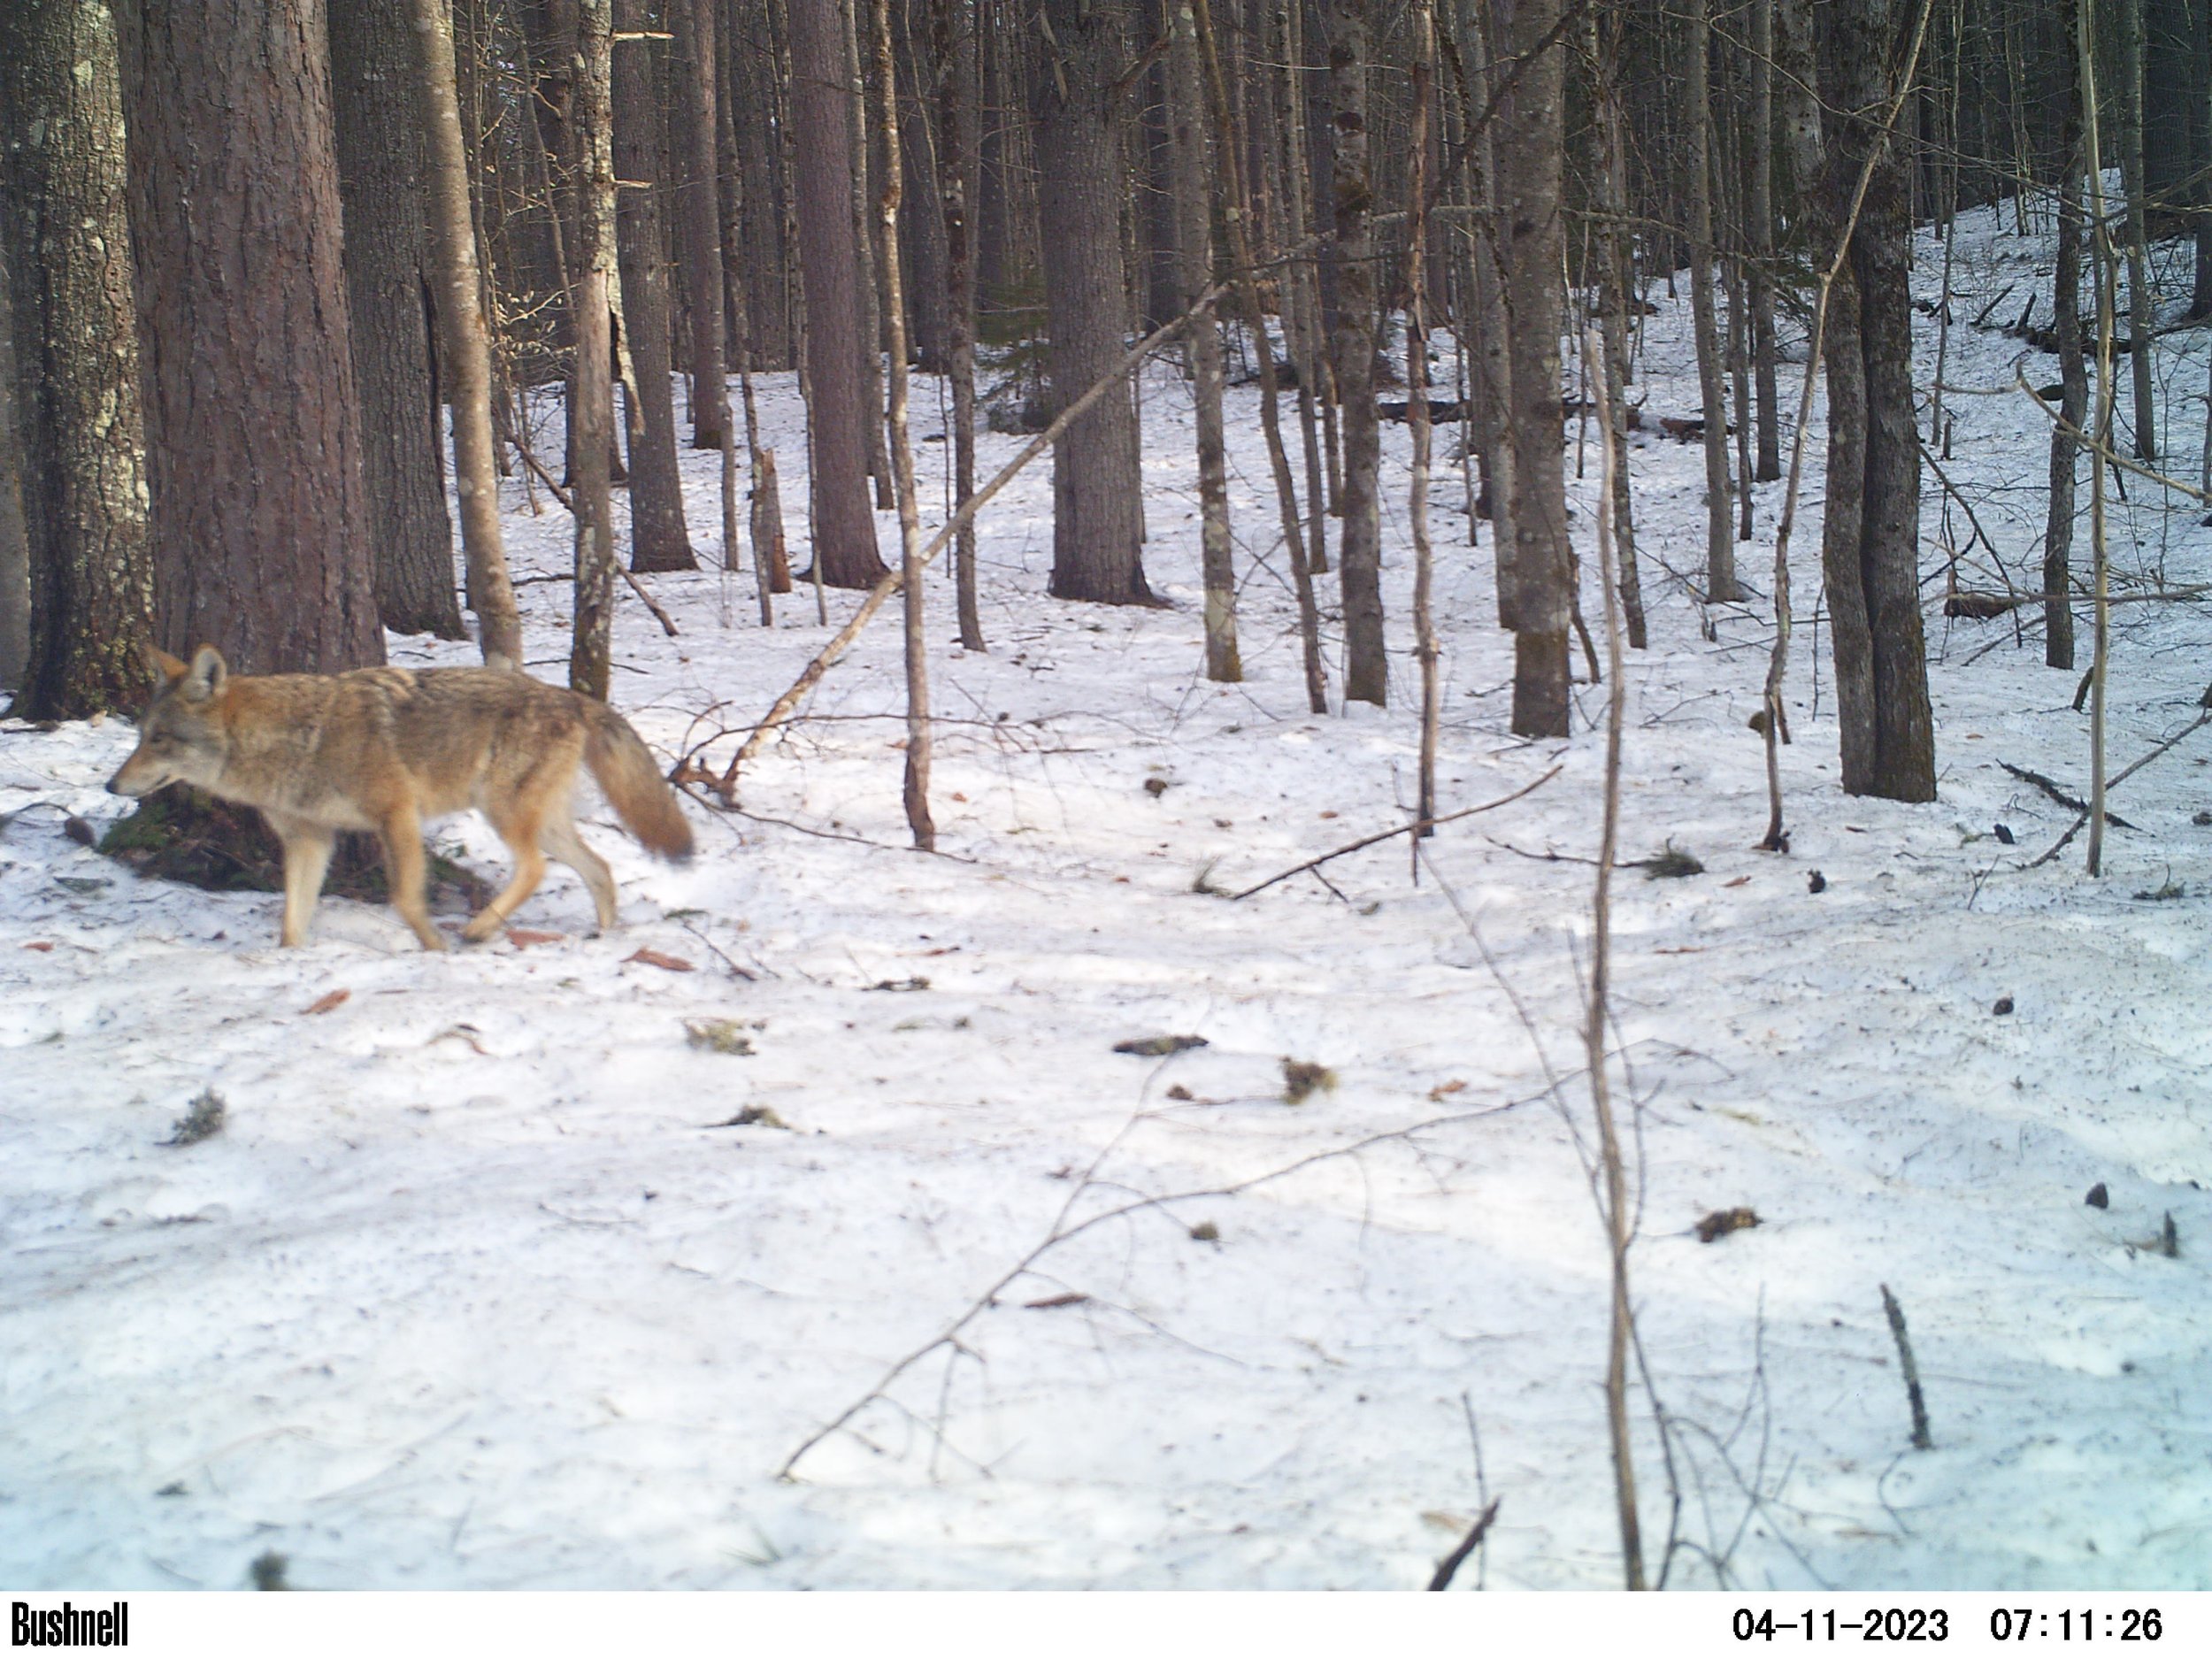
Without specialized approaches, the average trail camera is best at capturing images of mid- to large-sized mammals. Look around for landscape features that indicate or are often associated with wildlife movement like recreational trails, game trails, drainages, or water sources. Game trails can be easy to find in winter, along with other seasons, as animals often use similar routes to travel through snow, thick wooded areas, and brush. Finally, browse and other field signs can also be used to identify where wildlife are likely to be detected.
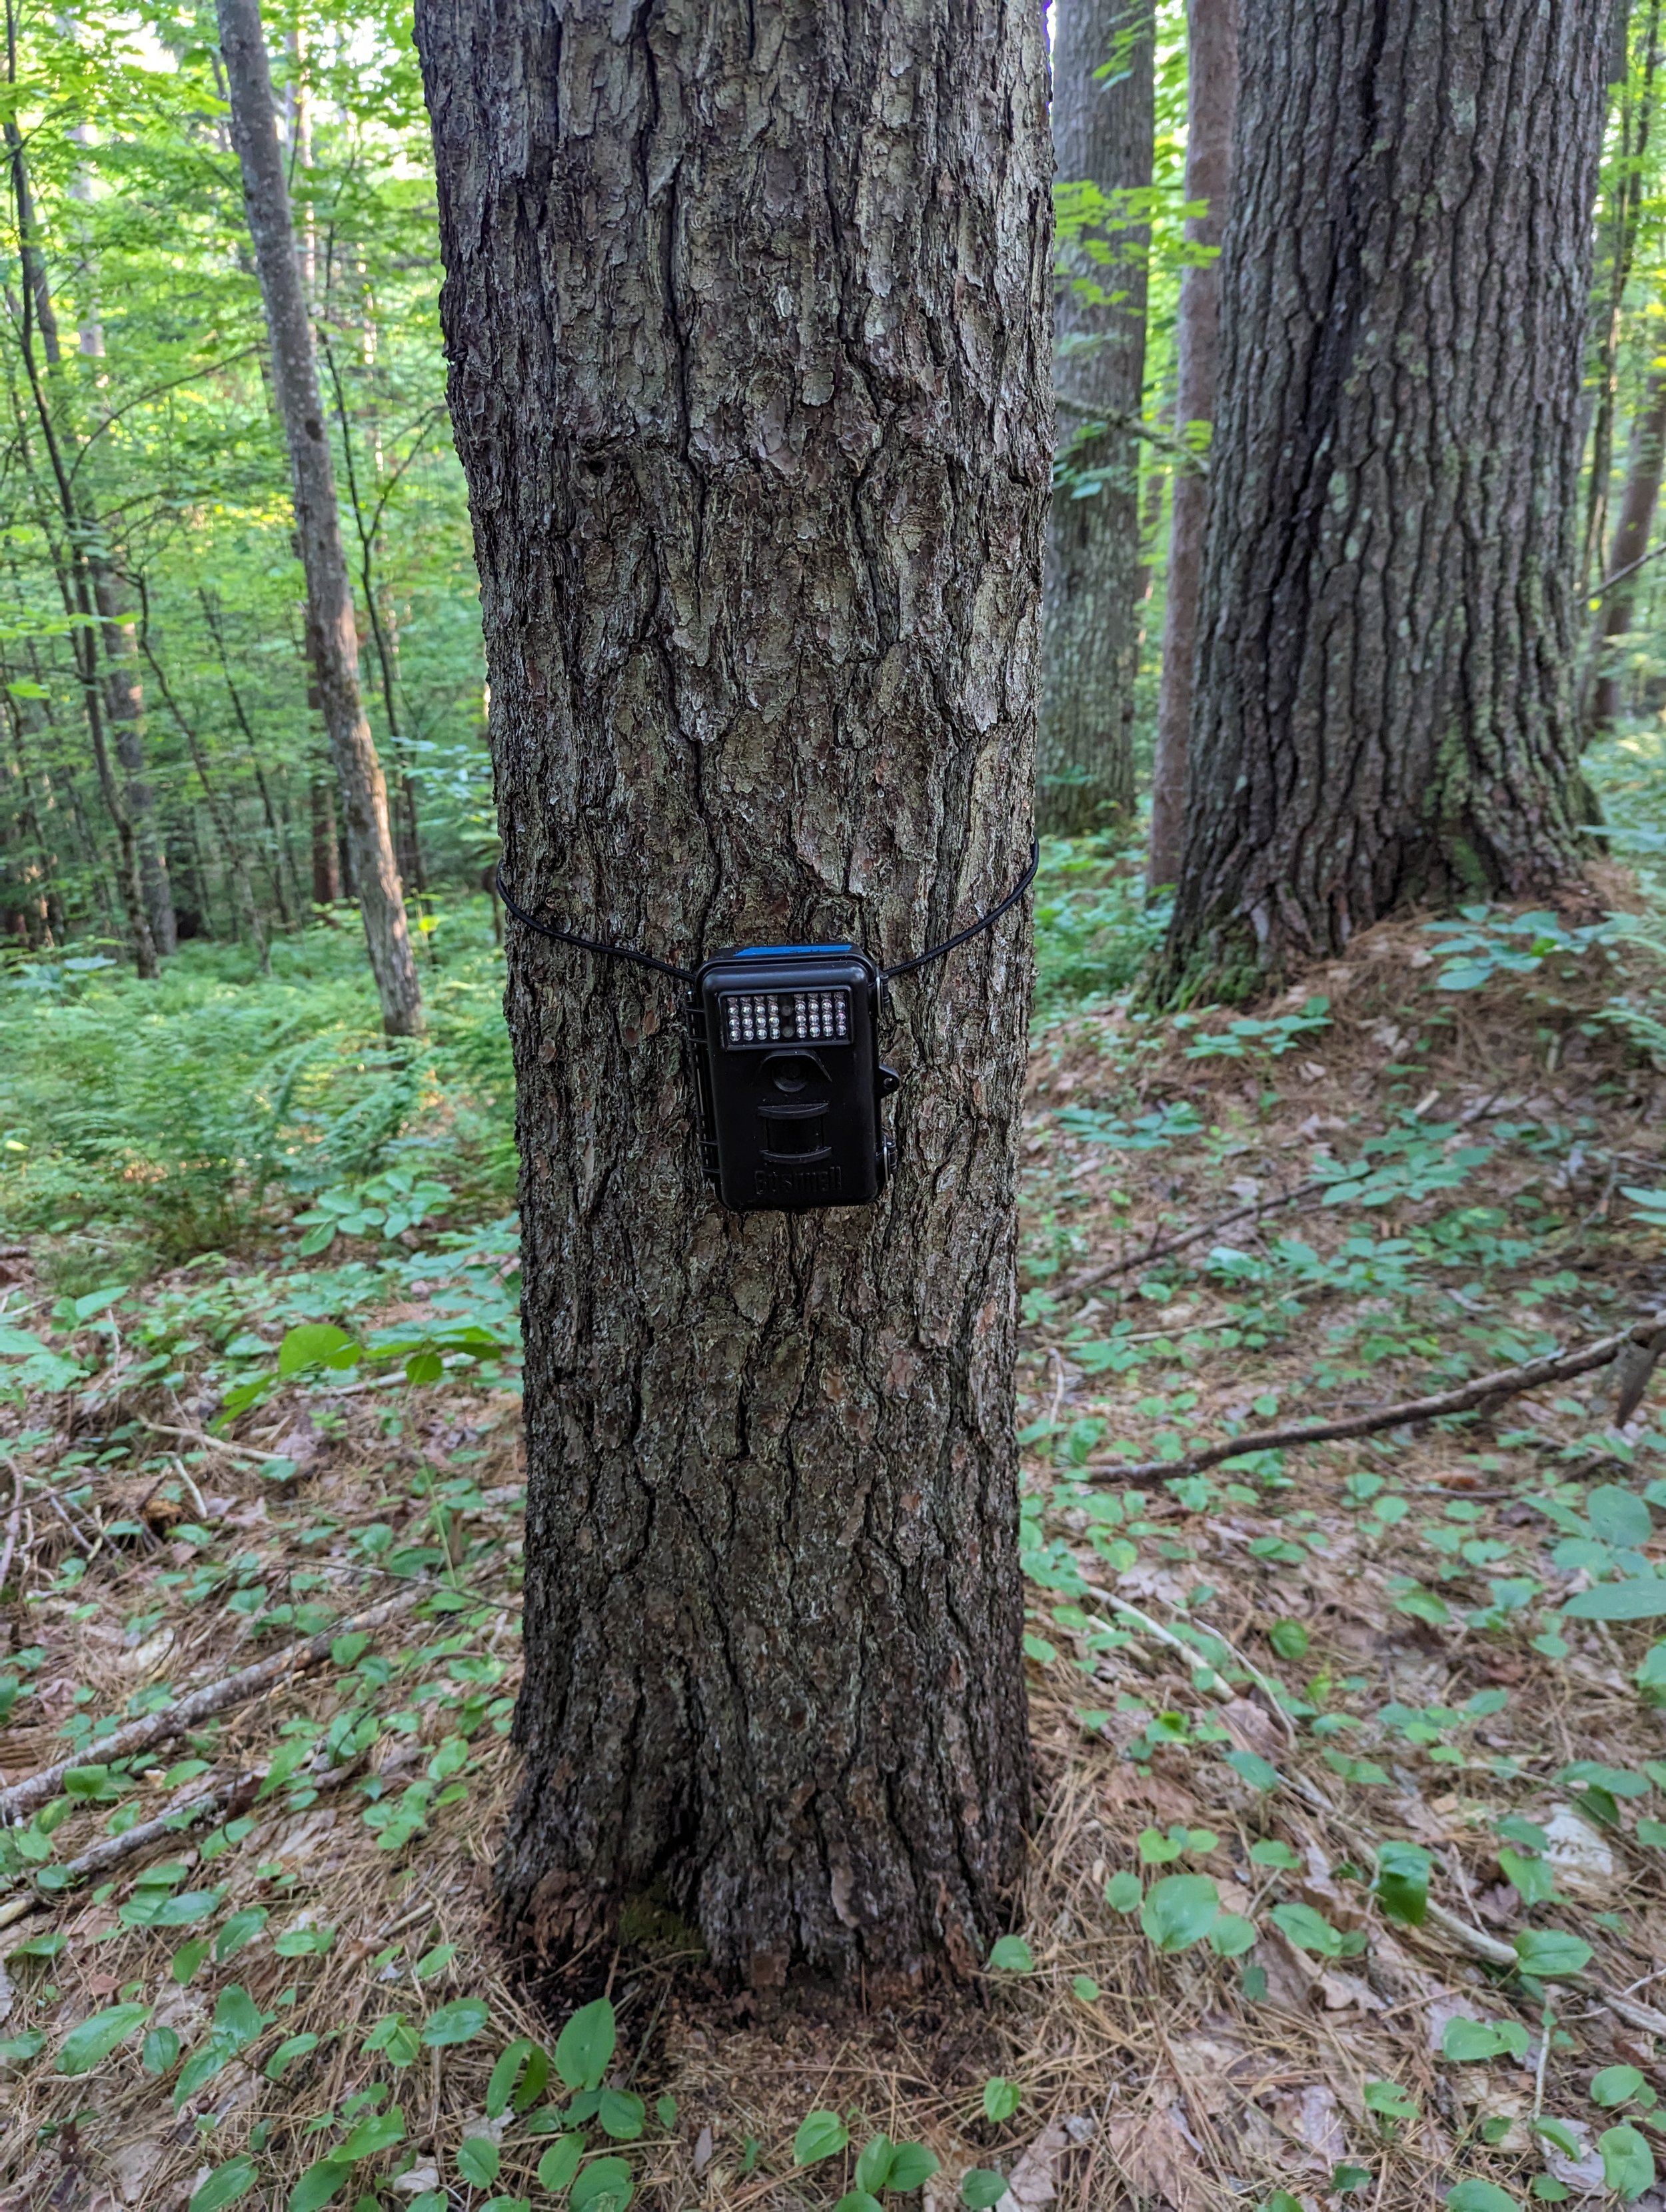
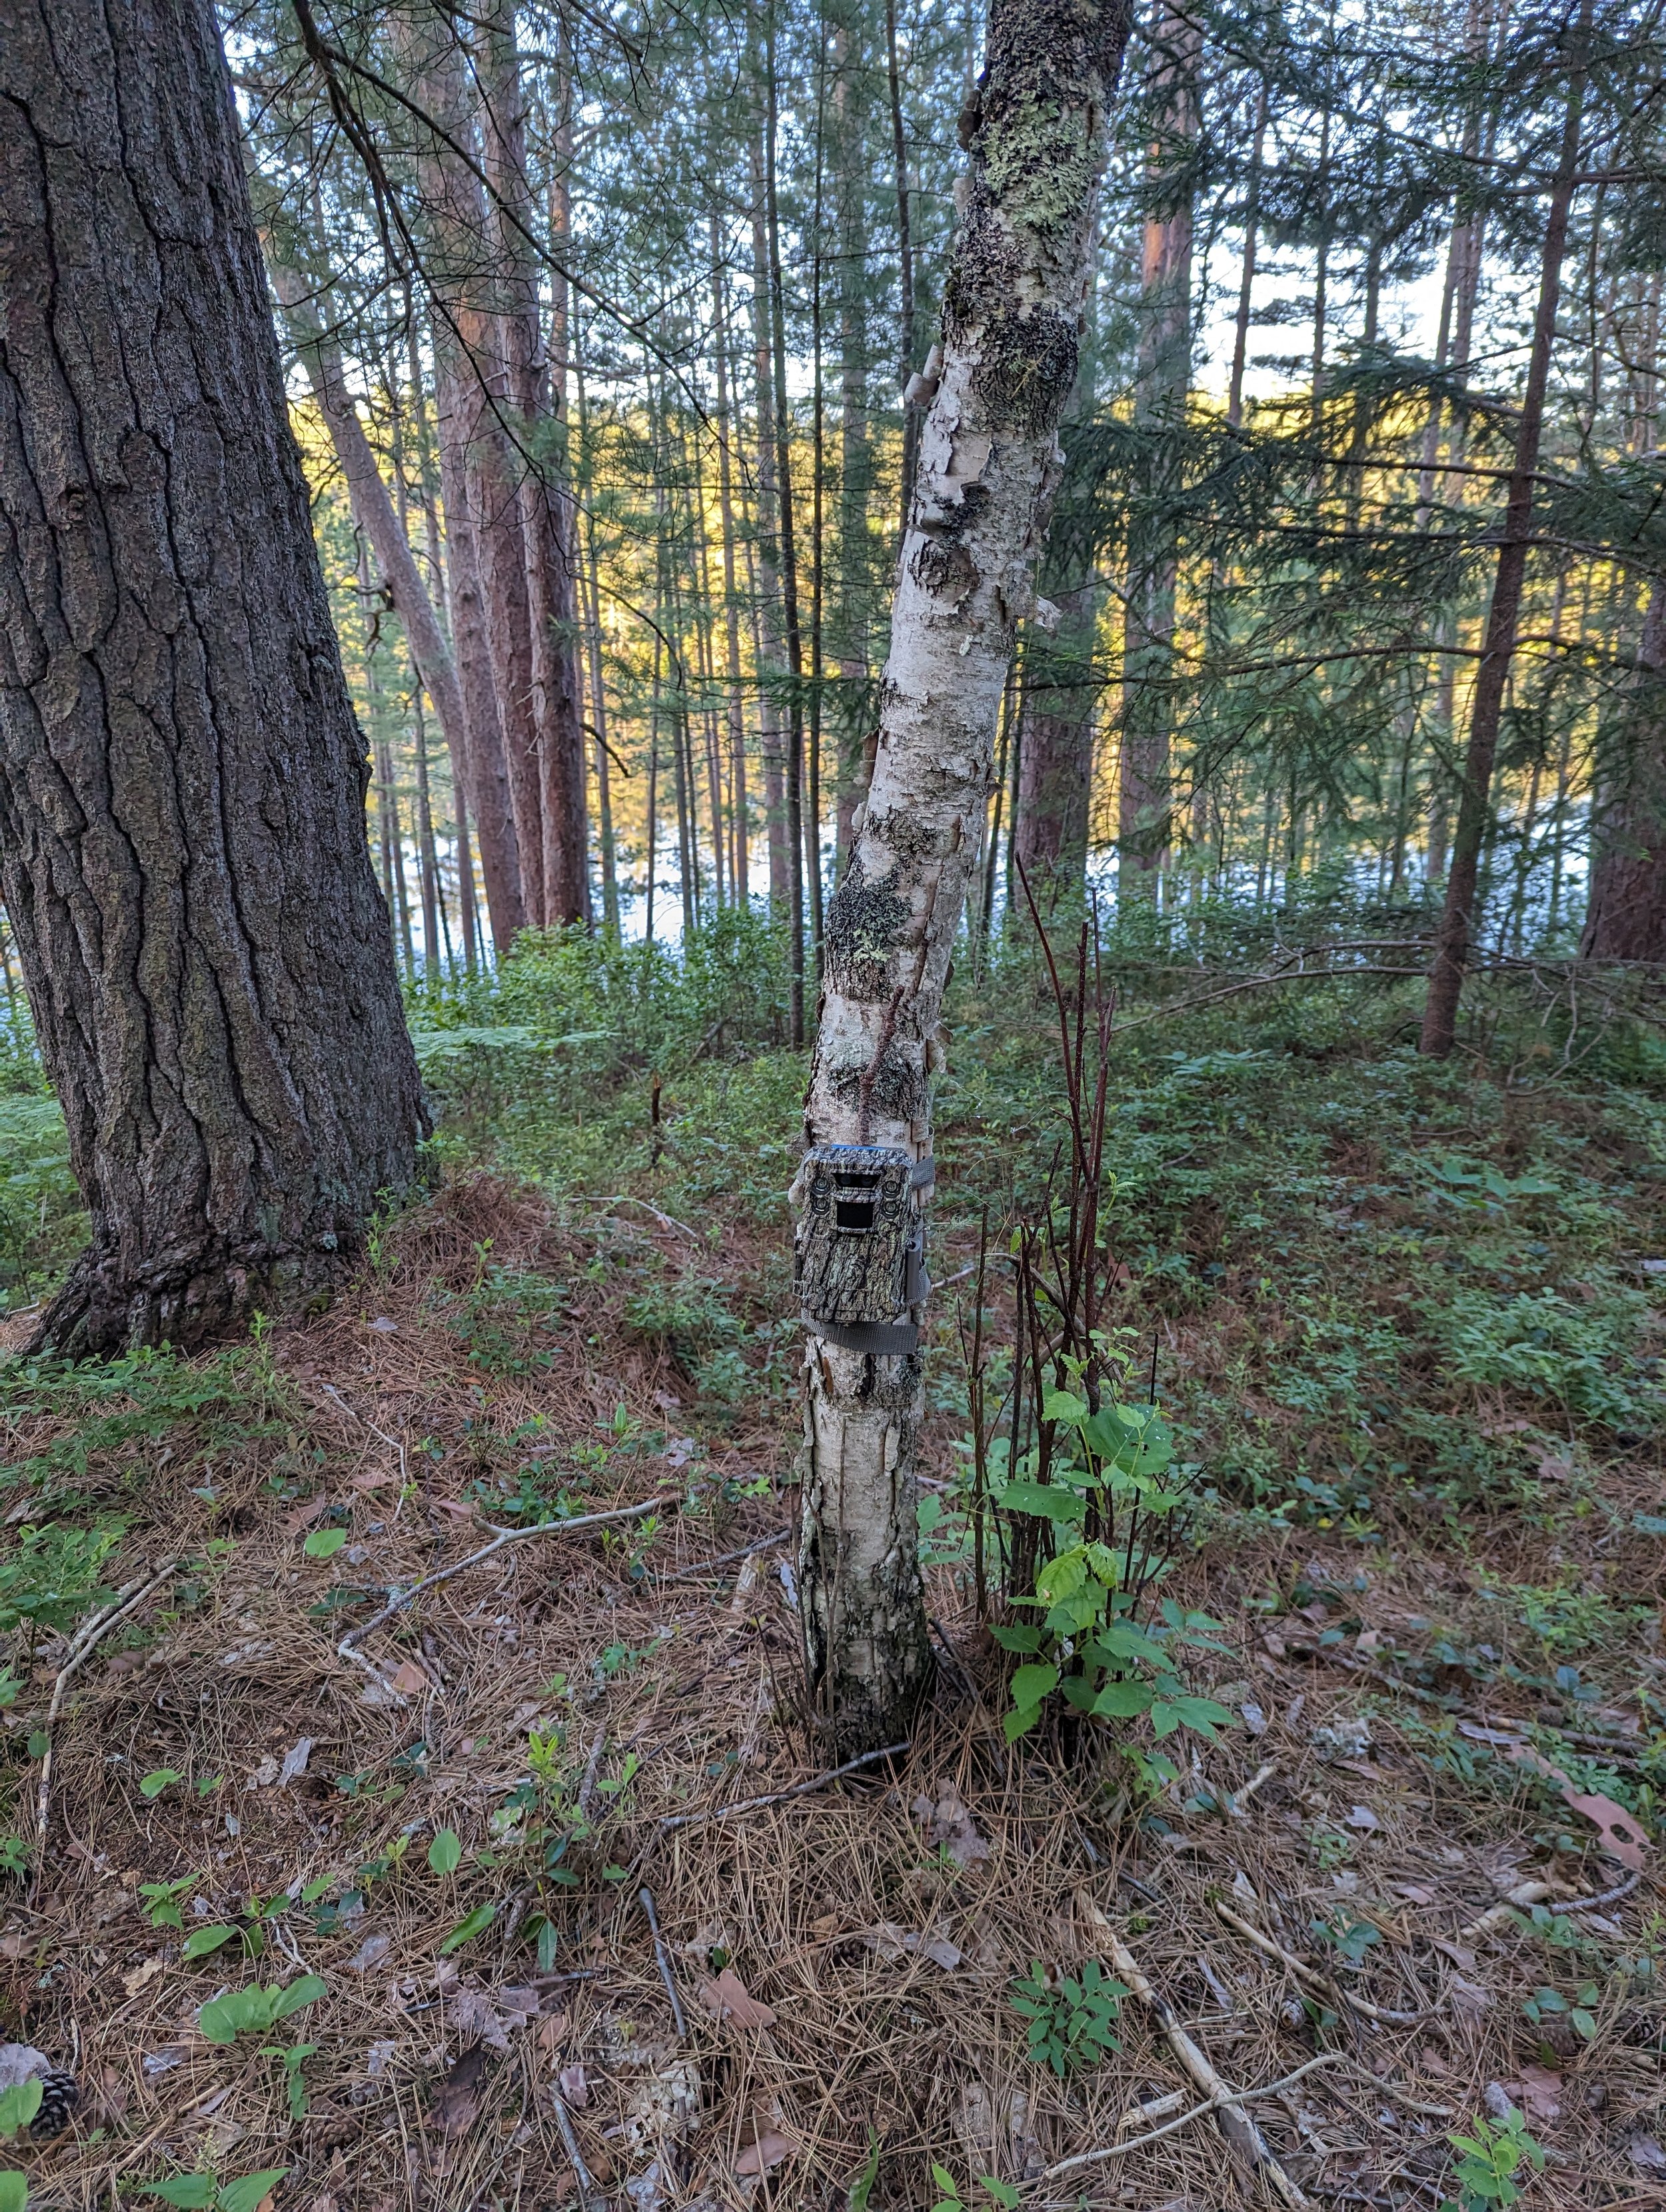
Next step is deployment. Most cameras come with some sort of strap that can be used to attach it to a vertical feature. Fortunately for us in the Adirondacks, we have an abundance of vertical structural diversity in the form of trees, and trees are often the easiest place to mount a camera. Aim it at a probable movement path and attach it to the tree at about 3-4 ft off the ground. Too high and you will, frustratingly, only get tantalizing partial photos of animals that you can’t identify. Another important consideration is to place your camera in a location without an abundance of low vegetation that will move in windy conditions and trigger the camera. Anyone who has used a camera can probably tell you about having made this mistake and being rewarded with thousands of images of waving branches, grass, ferns, etc. This takes some trial and error, but you can often find a location that will work well, especially in winter when much of the understory has died back or is under the snow.
The last thing to do once you’ve got the camera mounted is to recheck to make sure the settings are correct and ready to go. Some cameras have a screen on which you can use the “Setup” menu to see the view the camera is viewing, which can be helpful as a final check. Now, before you turn and head back inside – make sure you turned it on! This is a common mistake that can really be a pain if your camera is miles in the woods and has not recorded a thing.
That’s it! It may seem complicated but it’s actually very easy, and incredibly rewarding when you come back later to see what you’ve got. Most SD cards can hold thousands of images and you’ll be back to check out of curiosity before ever running out of space. A month is a good time to leave it and let it acquire images but there are no specific rules. Anytime you feel like an adventure, go check your camera, make sure the batteries are still good, swap the SD card for a new blank one and bring the original back to see what you found.
How does AWI use camera trapping?
In several ways. Our use of camera traps is primarily associated with our terrestrial wildlife research. Protecting water quality inherently includes looking out for the intactness and resilience of our uplands, and wildlife are an excellent tool for gauging the health of our terrestrial ecosystems. We have used camera trapping on private lands to help identify species present and to offer advice on how best to protect them and avoid fragmentation of their habitats. We have also used camera traps in two different projects to understand how wildlife are influenced by recreation, including ongoing efforts to pilot test a visitor use management framework on Jenkins Mt at the Paul Smith’s VIC. In an upcoming project, we will use camera traps to examine wildlife in a lakeshore biodiversity project on Upper Saranac Lake.
We believe one of the superpowers of camera trapping is its ability to foster collaboration. The Adirondack Inventory and Monitoring Camera Trap Network is a great local example. It is a collaborative effort to use trail cameras to share data on wildlife populations, understand the potential implications of climate change on wildlife, and engage students in real-world research efforts. With the combined help of both researchers and citizen scientists, applications like these provide opportunities to increase our understanding of the natural world. For research, recreation, or just for fun, camera trapping is an easy way to learn about wildlife all around us. If you’re looking for holiday gift ideas, a trail camera might be a good choice.